In April 2023, I used the original CompVis Stable Diffusion repository to generate images locally without being a Python developer. My goal was to run a command like this:
python scripts/txt2img.py --prompt "a photograph of an astronaut riding a horse" --plmsHistorical note: This article records a Stable Diffusion 1.x setup from 2023. It depends on old model checkpoints, Miniforge and package versions, repository code, and safety-checker internals. I have not revalidated it as a current installation guide. Use the documentation for your chosen modern Stable Diffusion tool instead of copying these commands unchanged.
Prerequisites used in 2023
The repository's requirements called for a suitable Conda environment. I used Miniforge through asdf and assumed compatible GPU drivers were already installed.
Download a Stable Diffusion 1.x checkpoint
At the time, CompVis published the original Stable Diffusion checkpoints through Hugging Face :
- stable-diffusion-v-1-1-original provided
sd-v1-1.ckpt. - stable-diffusion-v-1-2-original provided
sd-v1-2.ckpt. - stable-diffusion-v-1-3-original provided
sd-v1-3.ckpt. - stable-diffusion-v-1-4-original provided
sd-v1-4.ckpt.
Each checkpoint was roughly 4 GiB and required accepting the model's access terms. I stored the downloaded files in ~/development/stable-diffusion-weights.
Set up the repository
Clone the original CompVis repository:
git clone https://github.com/CompVis/stable-diffusion.git ~/development/stable-diffusion
cd ~/development/stable-diffusion
Link a checkpoint
Create the model directory and link the 1.4 checkpoint under the filename expected by the repository:
cd ~/development/stable-diffusion
mkdir -p models/ldm/stable-diffusion-v1
ln -sf ~/development/stable-diffusion-weights/sd-v1-4.ckpt models/ldm/stable-diffusion-v1/model.ckpt

# Link another downloaded checkpoint when needed:
# ln -sf ~/development/stable-diffusion-weights/sd-v1-1.ckpt models/ldm/stable-diffusion-v1/model.ckpt
# ln -sf ~/development/stable-diffusion-weights/sd-v1-2.ckpt models/ldm/stable-diffusion-v1/model.ckpt
# ln -sf ~/development/stable-diffusion-weights/sd-v1-3.ckpt models/ldm/stable-diffusion-v1/model.ckpt
Install the historical Miniforge version
This setup assumed asdf was already installed. I installed Miniforge only for this repository:
asdf plugin add python
asdf list-all python
asdf install python miniforge3-22.11.1-4
asdf local python miniforge3-22.11.1-4
Using asdf local instead of asdf global limited that Miniforge version to the Stable Diffusion project directory.
Create the Conda environment
Create the environment described by the repository:
conda env create -f environment.yamlInitialize Conda for Bash once:
conda init bashFor this asdf installation, conda init bash added a block similar to the following shell configuration:
# >>> conda initialize >>>
# !! Contents within this block are managed by 'conda init' !!
__conda_setup="$($ASDF_DIR+'/installs/python/miniforge3-22.11.1-4/bin/conda' 'shell.bash' 'hook' 2> /dev/null)"
if [ $? -eq 0 ]; then
    eval "$__conda_setup"
else
    if [ -f "$ASDF_DIR/installs/python/miniforge3-22.11.1-4/etc/profile.d/conda.sh" ]; then
        . "$ASDF_DIR/installs/python/miniforge3-22.11.1-4/etc/profile.d/conda.sh"
    else
        export PATH="$ASDF_DIR/installs/python/miniforge3-22.11.1-4/bin:$PATH"
    fi
fi
unset __conda_setup
# <<< conda initialize <<<
I moved that generated block into ~/bin/sourceconda so Conda loaded only when I needed it:
cd ~/development/stable-diffusion
source ~/bin/sourceconda
conda activate ldm
Generate an image
In each new terminal, enter the repository and activate the environment:
cd ~/development/stable-diffusion
source ~/bin/sourceconda
conda activate ldm
Then run the text-to-image script:
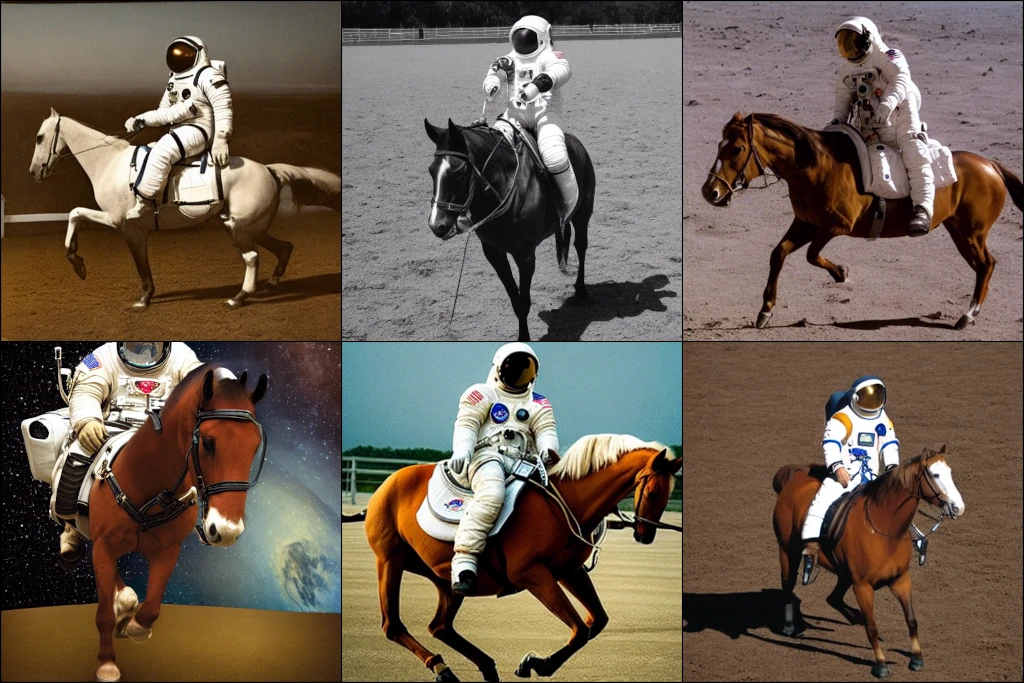
python scripts/txt2img.py --prompt "a photograph of an astronaut riding a horse"The command produced an image grid like this:
Historical safety-checker modification
The 2023 script replaced images flagged by its safety checker. In that specific checkout, bypassing the replacement while retaining the loaded model required changing scripts/txt2img.py:
# x_checked_image, has_nsfw_concept = check_safety(x_samples_ddim)
x_checked_image = x_samples_ddim
The alternative I recorded skipped loading the checker entirely:
# load safety model
# safety_model_id = "CompVis/stable-diffusion-safety-checker"
# safety_feature_extractor = AutoFeatureExtractor.from_pretrained(safety_model_id)
# safety_checker = StableDiffusionSafetyChecker.from_pretrained(safety_model_id)

# ...

def check_safety(x_image):
    return x_image, False
    # safety_checker_input = safety_feature_extractor(numpy_to_pil(x_image), return_tensors="pt")
    # x_checked_image, has_nsfw_concept = safety_checker(images=x_image, clip_input=safety_checker_input.pixel_values)
    # assert x_checked_image.shape[0] == len(has_nsfw_concept)
    # for i in range(len(has_nsfw_concept)):
    #     if has_nsfw_concept[i]:
    #         x_checked_image[i] = load_replacement(x_checked_image[i])
    # return x_checked_image, has_nsfw_concept
These edits are included only to document the old checkout. Current tools use different code and safety mechanisms.
Historical troubleshooting
This import error indicated an incompatible diffusers version in my environment:
ImportError: cannot import name 'SAFE_WEIGHTS_NAME' from 'transformers.utils'Pinning the version below resolved it for that checkout:
pip install diffusers==0.12.1For a GPU with limited VRAM, generating one sample at a time reduced memory use:
python scripts/txt2img.py --prompt "a photograph of an astronaut riding a horse" --n_samples 1Interfaces available at the time
In 2023, I used or considered these browser-based frontends:
- Stable Diffusion web UI , which I tried.
- Easy Diffusion , which I had not tried.