I've been looking around and have yet to find what would be the perfect system
for the next iteration of this blog.
Nonetheless, I've found something very close to it.
It's called Gridsome.
I've enjoyed using Hugo for blogging, but I'd rather be able to leverage my skills in Vue.js to have a better and more interactive blogging experience, than fighting with a templating language I hardly use.
This tutorial will guide you on how to set up a new Gridsome project that allows you to write your templates in Pug, Sass and have a simple Vuetify theme ready for your content.
Writing a blog with Vue.js, Markdown and GraphQL by my side is just a dream come true.
Prerequisites
Install Node.js and Yarn
Install Gridsome
yarn global add @gridsome/cliA new project
Now, let's generate a new project:
gridsome create my-siteStart the dev server:
cd my-site
gridsome develop
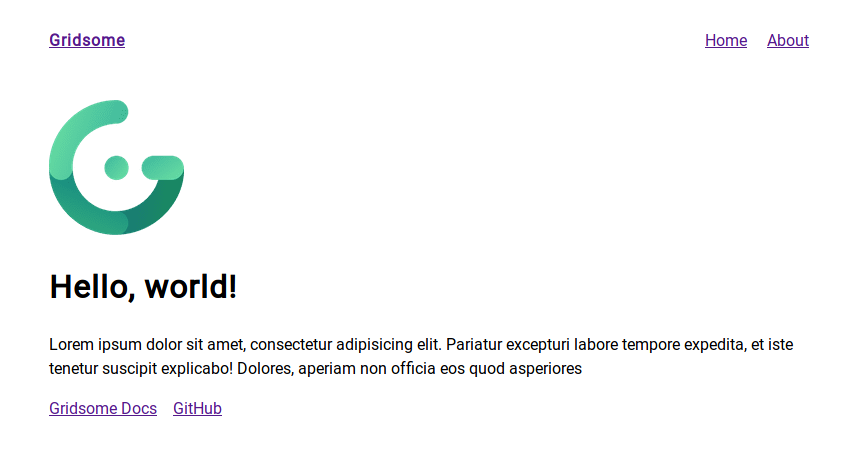
Visit http://localhost:8080 in your browser and you should see:
Notice that there is also another URL in the terminal.
Visit http://localhost:8080/___explore and you'll see:
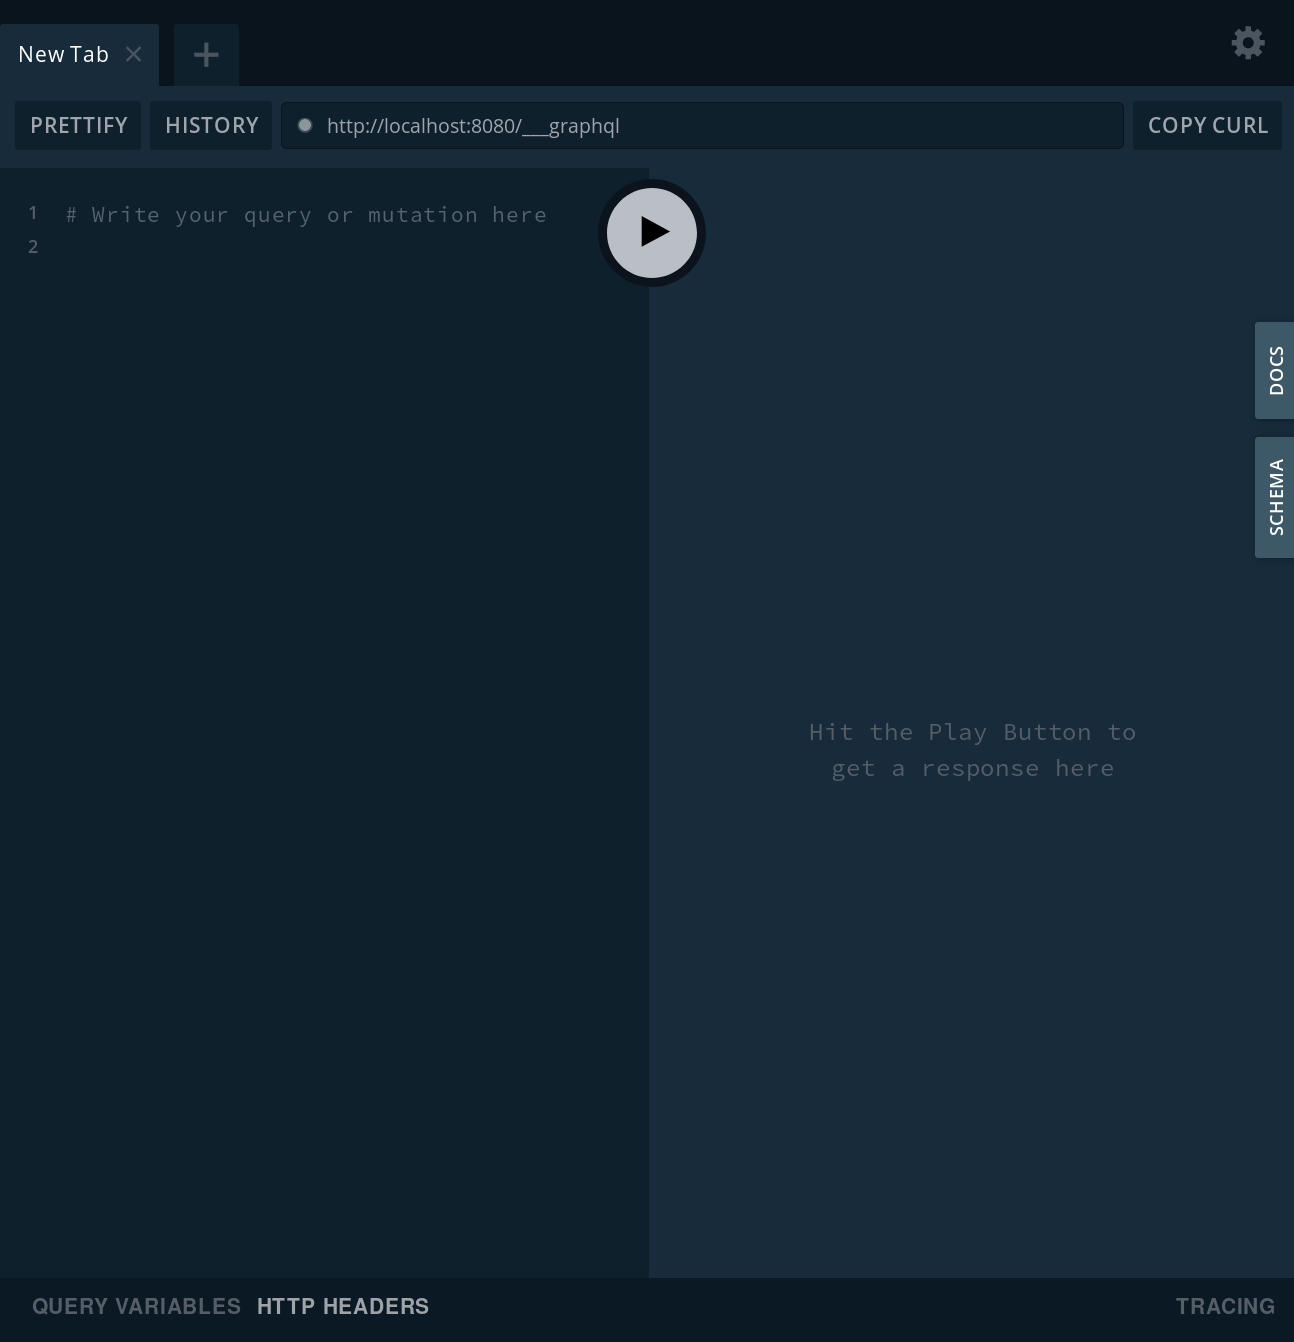
Now, copy this inside the left pane and run the query:
query {
  allPage {
    id
    type
    title
    slug
    path
    component
    pageQuery {
      type
      content
      options
    }
    content
    date
  }
}
On the right hand, you'll see something like:
{
  "data": {
    "allPage": [
      {
        "id": "2",
        "type": "page",
        "title": "be19209865d1080b24679f9f34f803f3",
        "slug": "index",
        "path": "/",
        "component": ".../my-site/src/pages/Index.vue",
        "pageQuery": {
          "type": null,
          "content": null,
          "options": null
        },
        "content": null,
        "date": null
      },
      {
        "id": "1",
        "type": "page",
        "title": "f965356798034b782b9ae752a852689d",
        "slug": "about",
        "path": "/about",
        "component": ".../my-site/src/pages/About.vue",
        "pageQuery": {
          "type": null,
          "content": null,
          "options": null
        },
        "content": null,
        "date": null
      }
    ]
  }
}
So as we can see, Gridsome comes with two pages in the form of two components. Which you can visit on:
Index.vue=> http://localhost:8080/About.vue=> http://localhost:8080/about
Initial configuration
Change the dev server command
The Vue CLI 3.0 project changed the development server command from yarn dev to yarn serve.
Nuxt.js is still using yarn dev.
Gridsome uses yarn develop.
I find it frustrating to mistype it everytime.
I like consistency, so the first thing I did was to edit my package.json file and change:
   "private": true,
   "scripts": {
     "build": "gridsome build",
-    "develop": "gridsome develop",
+    "serve": "gridsome develop",
     "explore": "gridsome explore"
   },
   "dependencies": {
     "gridsome": "^0.5.0"
   }
}
Now I can start my development server with:
yarn serveJust like with any other Vue.js app I work with. Awesome!
Add Pug and Sass support
Install these project dependencies:
yarn add pug pug-plain-loader node-sass sass-loader --devModify the gridsome.config.js file to look like this:
module.exports = {
  siteName: 'Gridsome',
  plugins: [],
  chainWebpack: config => {
    config.module
      .rule('pug')
      .test(/\.pug$/)
      .use('pug-plain-loader')
      .loader('pug-plain-loader')
  }
}
Now you can turn src/pages/About.vue from this:
<template>
  <Layout>
    <h1>About us</h1>
    <p>Lorem ipsum dolor sit amet, consectetur adipisicing elit...</p>
  </Layout>
</template>

<script>
export default {
  metaInfo: {
    title: 'About us'
  }
}
</script>
Into this:
<template lang="pug">
Layout
  h1 About us
  p Lorem ipsum dolor sit amet, consectetur adipisicing elit...
</template>


<script>
export default {
  metaInfo: {
    title: 'About us'
  }
}
</script>


<style lang="sass" scoped>
h1
  color: red
</style>
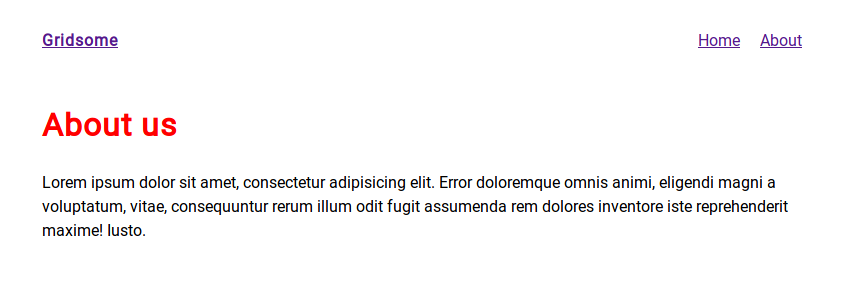
Visit http://localhost:8080/about and you'll see:
Neat, right?
Add Markdown support
Install these project dependencies:
yarn add @gridsome/source-filesystem @gridsome/transformer-remark --devModify gridsome.config.js to:
module.exports = {
  siteName: 'Gridsome',
  plugins: [
    {
      use: '@gridsome/source-filesystem',
      options: {
        path: 'blog/**/*.md',
        typeName: 'Post',
        route: '/blog/:slug'
      }
    }
  ],
  chainWebpack: config => {
    config.module
      .rule('pug')
      .test(/\.pug$/)
      .use('pug-plain-loader')
      .loader('pug-plain-loader')
  }
}
This will look for any .md files in a blog directory located in
your app's root.
Now let's create a template for the Post type.
Add src/templates/Post.vue with this content:
<template lang="pug">
layout
  div(v-html="$page.post.content")
</template>


<page-query>
query Post ($path: String!) {
  post: post (path: $path) {
    title
    content
  }
}
</page-query>


<script>
export default {
  metaInfo () {
    return {
      title: this.$page.post.title
    }
  }
}
</script>
Then, add a blog/first-post.md with this content:
---
slug: first-post
title: This is my first post!
---

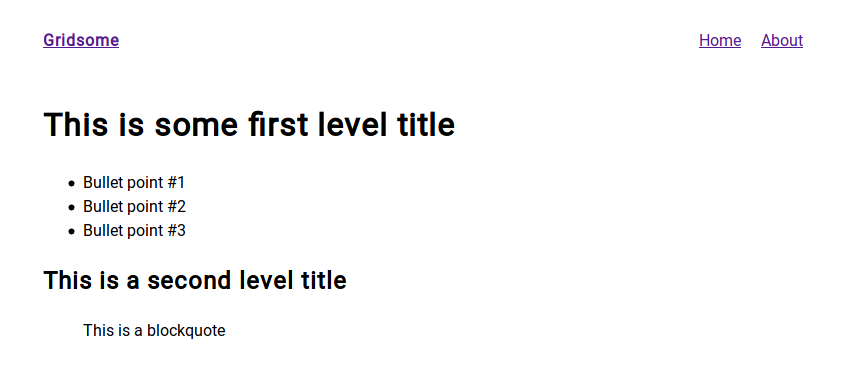
# This is some first level title

* Bullet point #1
* Bullet point #2
* Bullet point #3

## This is a second level title

> This is a blockquote
If you don't specify the slug in the frontmatter it'll be automatically extracted from the title.
Visit http://localhost:8080/blog/first-post
Curious about how the GraphQL query for your Posts looks like?
Copy this in the playground:
query {
  allPost {
    totalCount
    pageInfo {
      totalPages
      currentPage
      isFirst
      isLast
    }
    edges {
      node {
        fileInfo {
          extension
          directory
          path
          name
        }
        slug
        title
        content
        excerpt
        headings {
          depth
          value
          anchor
        }
        timeToRead
        id
        path
        date
      }
    }
  }
}
It'll give back:
{
  "data": {
    "allPost": {
      "totalCount": 1,
      "pageInfo": {
        "totalPages": 1,
        "currentPage": 1,
        "isFirst": true,
        "isLast": true
      },
      "edges": [
        {
          "node": {
            "fileInfo": {
              "extension": ".md",
              "directory": "blog",
              "path": "blog/first-post.md",
              "name": "first-post"
            },
            "slug": "first-post",
            "title": "This is my first post!",
            "content": "<h1 id=\"this-is-some-first-level-title\"><a href=\"#this-is-some-first-level-title\" aria-hidden=\"true\"><span class=\"icon icon-link\"></span></a>This is some first level title</h1>\n<ul>\n<li>Bullet point #1</li>\n<li>Bullet point #2</li>\n<li>Bullet point #3</li>\n</ul>\n<h2 id=\"this-is-a-second-level-title\"><a href=\"#this-is-a-second-level-title\" aria-hidden=\"true\"><span class=\"icon icon-link\"></span></a>This is a second level title</h2>\n<blockquote>\n<p>This is a blockquote</p>\n</blockquote>\n",
            "excerpt": "",
            "headings": [
              {
                "depth": 1,
                "value": "This is some first level title",
                "anchor": "#this-is-some-first-level-title"
              },
              {
                "depth": 2,
                "value": "This is a second level title",
                "anchor": "#this-is-a-second-level-title"
              }
            ],
            "timeToRead": 1,
            "id": "9f237d8cca1d091837cd0a93f2ab7e41",
            "path": "/blog/first-post",
            "date": "2019-03-21T03:16:53.656Z"
          }
        }
      ]
    }
  }
}
Pretty cool!
Add Vuetify and Material Icons support
Let's add Vuetify so we can write our layouts and templates using this awesome library components.
yarn add vuetifyAdjust main.js to look like this:
import Vuetify from 'vuetify'
import DefaultLayout from '~/layouts/Default.vue'

import 'vuetify/dist/vuetify.min.css'


export default function (Vue, { router, head, isClient }) {
  head.link.push({
    rel: 'stylesheet',
    href: 'https://fonts.googleapis.com/icon?family=Material+Icons'
  })

  Vue.use(Vuetify)
  // Set default layout as a global component
  Vue.component('Layout', DefaultLayout)
}
Then, change src/layouts/Default.vue into this:
<template lang="pug">
v-app
  v-toolbar
    v-toolbar-title {{ $static.metaData.siteName }}
    v-spacer
    v-toolbar-items
      v-btn(flat exact :to="{ name: 'home' }") Home
      v-btn(flat :to="{ name: 'about' }") About

  v-container
    slot
</template>


<static-query>
query {
  metaData {
    siteName
  }
}
</static-query>
Visit http://localhost:8080 and you'll see:
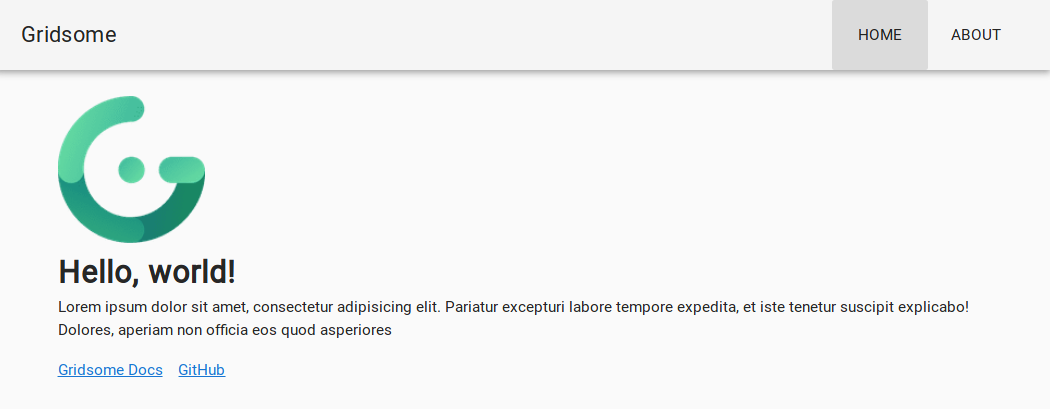
Beautiful!
Blogging
Let's add a list of our blog posts to the home page.
Change src/pages/Index.vue to:
<template lang="pug">
layout
  v-img(alt="Example image" :src="imgUrl" width="135")
  h1 Hello, world!
  p Lorem ipsum dolor sit amet, consectetur adipisicing elit.

  .title.mb-3 Total posts: {{ totalCount }}

  v-list(two-line)
    v-list-tile(
      v-for="(post, index) in posts"
      :key="index"
      @click="onClick(post)"
    )
      v-list-tile-content
        v-list-tile-title {{ post.node.title }}
        v-list-tile-sub-title {{ post.node.date }}
</template>


<page-query>
query {
  allPost {
    totalCount
    edges {
      node {
        id
        title
        slug
        path
        date
      }
    }
  }
}
</page-query>


<script>
export default {
  data () {
    return {
      imgUrl: require('@/favicon.png')
    }
  },
  computed: {
    posts () {
      return this.$page.allPost.edges
    },
    totalCount () {
      return this.$page.allPost.totalCount
    }
  },
  methods: {
    onClick (post) {
      this.$router.push({ path: post.node.path })
    }
  }
}
</script>
And with this, we have a very basic, but functional blogging system!
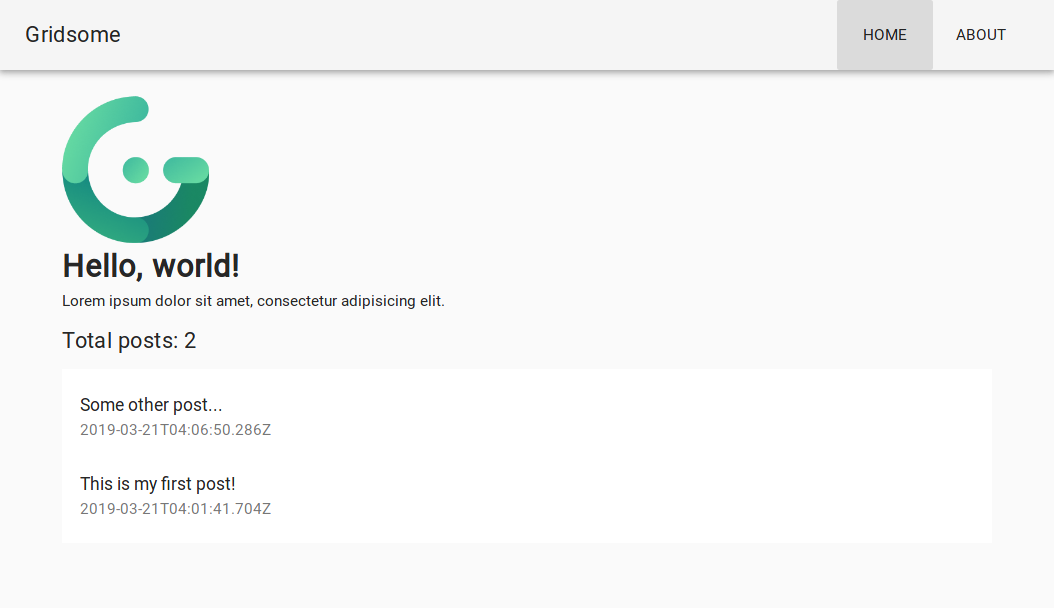
Building the project
You can build your site for deployment with:
yarn buildBut, as we added Vuetify, the build process will fail with:
Failed to render .../my-site/node_modules/vuetify/dist/vuetify.min.css:5
SyntaxError: Invalid or unexpected token
error Command failed with exit code 1.
To fix it:
yarn add webpack-node-externals --devThen modify your gridsome.server.js file to:
const nodeExternals = require('webpack-node-externals')

module.exports = function (api) {
  api.chainWebpack((config, { isServer }) => {
    if (isServer) {
      config.externals([
        nodeExternals({
          whitelist: [/^vuetify/]
        })
      ])
    }
  })

  api.loadSource(store => {
    // Use the Data store API here: https://gridsome.org/docs/data-store-api
  })
}
All should be good now!
After building your project, you'll find the files in dist/.
Troubleshooting
If you ever encounter this error when trying to start your development server:
$ yarn serve
yarn run v1.12.3
warning ../../package.json: No license field
$ gridsome develop
internal/modules/cjs/loader.js:736
  return process.dlopen(module, path.toNamespacedPath(filename));
                 ^

Error: libvips-cpp.so.42: cannot open shared object file: No such file or directory
    at Object.Module._extensions..node (internal/modules/cjs/loader.js:736:18)
    at Module.load (internal/modules/cjs/loader.js:605:32)
    at tryModuleLoad (internal/modules/cjs/loader.js:544:12)
    at Function.Module._load (internal/modules/cjs/loader.js:536:3)
    at Module.require (internal/modules/cjs/loader.js:643:17)
    at require (internal/modules/cjs/helpers.js:22:18)
    at Object.<anonymous> (/home/yomero/tmp/my-site/node_modules/sharp/lib/constructor.js:10:15)
    at Module._compile (internal/modules/cjs/loader.js:707:30)
    at Object.Module._extensions..js (internal/modules/cjs/loader.js:718:10)
    at Module.load (internal/modules/cjs/loader.js:605:32)
error Command failed with exit code 1.
info Visit https://yarnpkg.com/en/docs/cli/run for documentation about this command.
Just rm -rf node_modules then yarn install and everything should be fine again.